Dentures Before And After Pictures
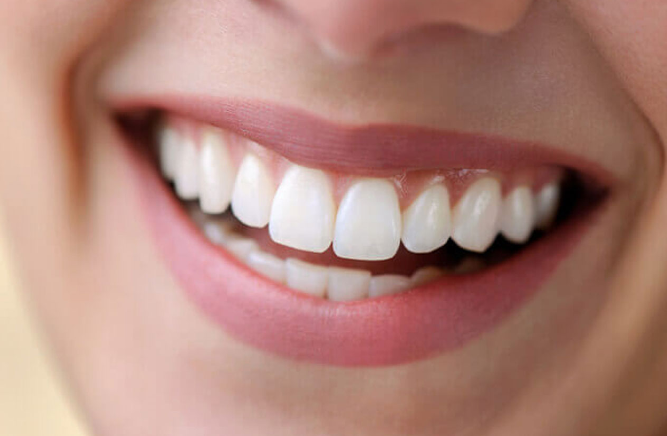
Dentures before and after pictures typically show a smile that goes from missing, worn, or broken teeth to a complete, even set of natural-looking teeth, often with noticeably fuller lips and better facial balance. Honest photos are taken in the same lighting, from the same angle, and at a similar distance, and they show realistic tooth shades rather than extreme white. Looking at these images is a common first step for anyone considering dentures, and reviewing real cases with a cosmetic dentist in Tillsonburg helps you understand what is achievable for your own smile.
Check that lighting, angle, and lip position match in both shots. Look at the gumline, tooth proportions, and lip support, not just tooth colour. Be cautious of heavy filters, cropped mouths with no face, and teeth that look identical in every case.
Galleries often include different treatment types, from conventional dentures to implant-supported options. Knowing which is shown helps you compare like with like.
Some before photos show teeth that could be partly saved with fillings, crowns, or bridges as part of restorative treatment, combined with a partial denture rather than a full one.
If you want to see real examples and talk about your own goals, the dental team can walk you through what each type of result involves.
Common Types of Denture Transformations in Pictures
Worn and failing teeth to full dentures
These before photos often show teeth that are short, dark, chipped, or loose, sometimes with swollen or receding gums. The after photos show a full upper and lower denture with natural proportions. The biggest change is often in the lower face, where restored tooth height makes the chin and lips look more balanced.
Gaps to partial dentures
Here, before photos show a mostly healthy smile with one or more missing teeth. The after photos show the gaps filled with replacement teeth that blend in with the natural teeth. The change can be subtle in photos but significant for chewing and confidence.
Old dentures to new dentures
Before pictures show dentures that have worn flat, stained, or loosened over many years, often with the face looking collapsed. After pictures show new teeth with proper length and position, restoring lip support and a more youthful smile line.
Conventional dentures to implant dentures
The visible change may be modest because the teeth can look similar. The real difference is in confidence and stability, which is easier to show in video than in still photos.
What Honest Before and After Photos Have in Common
Matching conditions
Same lighting, background, camera distance, and head position.
Natural shades
Teeth look bright but believable for the person’s age and complexion.
Full context
The whole lower face is visible, not just a tight crop of the teeth.
Varied results
Different patients have different tooth shapes and sizes, not a single template.
Red Flags in Denture Photos
| Red flag | Why it matters |
|---|---|
| Different lighting in the two photos | Makes the after result look brighter than it really is |
| Very smooth, poreless skin in the after photo | Suggests filters or editing |
| Teeth that look like a single white block | May indicate editing or low-quality teeth |
| No face visible | Hard to judge how the denture suits the person |
| Identical smiles across many patients | Results should be personalised, not generic |
Before and After Changes You Can Feel, Not See
Photos show appearance, but many of the most meaningful changes are things patients feel. Being able to chew a wider range of foods, speaking without worrying about gaps, and no longer living with toothaches or infections all have a big effect on daily life. When you speak with people who have dentures, ask them how their life has changed, not just how their smile looks.
How Your Own Before and After Is Planned
- Consultation and photos. Your dentist takes standardised photos of your smile and face.
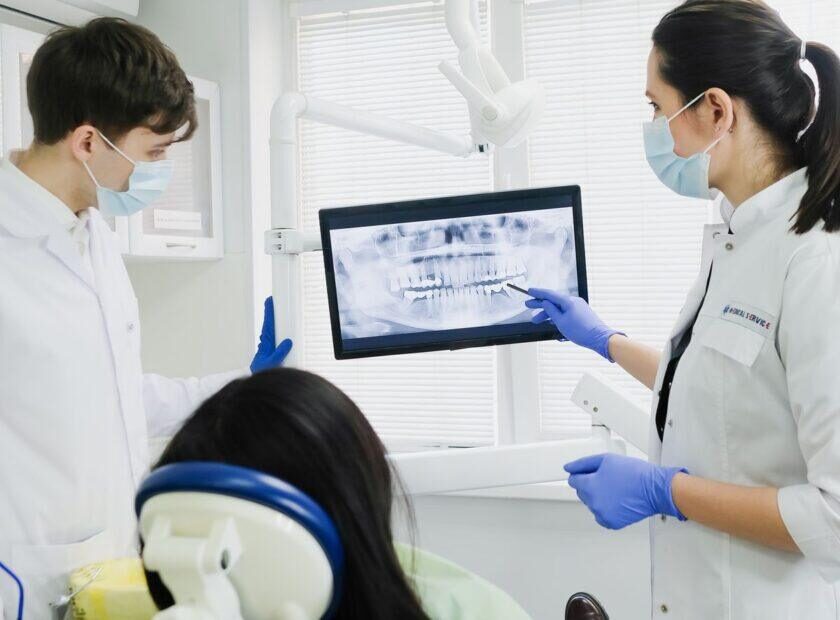
- Examination and X-rays. The health of your teeth, gums, and bone is assessed.
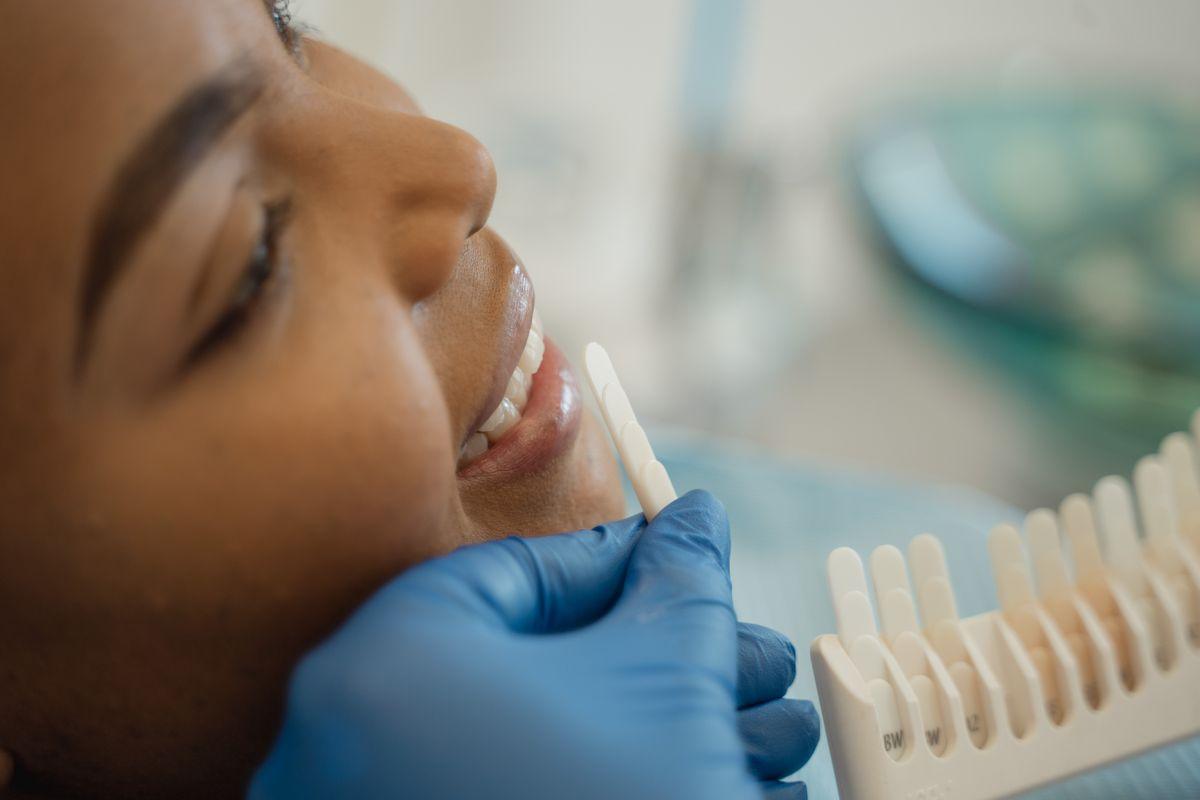
- Smile planning. Tooth shade, shape, and size are discussed, often using older photos of your natural smile.
- Try-in. A wax version of your denture lets you preview the result.
- Final denture. The finished denture is fitted and adjusted.
- After photos. Taken once swelling has settled and the fit has been fine-tuned.
Myths About Denture Before and After Pictures
Facial Changes You Can Spot in Good Photos
One of the most noticeable parts of a denture transformation is the change in the face, not just the teeth. When many teeth are lost, the lower face loses height and support. In before photos, this can appear as lips that look thin or turned inward, deeper lines running from the nose to the corners of the mouth, a chin that seems to move forward and up, and corners of the mouth that droop. Well-designed dentures restore the missing height and support, so in after photos the lips look fuller, the lines soften, and the face looks more balanced and relaxed.
| Facial feature | Common before appearance | Common after appearance |
|---|---|---|
| Upper lip | Thin, sunken, or folded inward | Supported and fuller |
| Lower face height | Shortened, chin closer to nose | Balanced proportions |
| Lines around the mouth | Deeper nasolabial folds and wrinkles | Softer lines with improved support |
| Corners of the mouth | Drooping, sometimes cracked | Lifted and more relaxed |
| Profile | Collapsed or pointed chin | Natural side view |
Why Some After Photos Look More Natural Than Others
When you scroll through galleries, you may notice that some after smiles look strikingly real while others look a little artificial. The difference usually lies in personalised design. Natural results use teeth that match the person’s age and skin tone, with subtle variations in shade between the front teeth and the canines. The edges of the teeth follow the curve of the lower lip. The teeth are sized to suit the face, and the pink gum section is shaded and shaped to resemble real tissue. Results that look less natural often use very white teeth, perfectly uniform rows, or tooth sizes that do not match the face.
Another factor is time. Photos taken months after fitting, once the patient has adjusted and any relines are complete, often look more relaxed and natural than photos taken on the first day, when the patient may still feel unsure about the new teeth.
Using Pictures to Communicate Your Preferences
Bringing a few saved photos to your consultation can help your dentist understand your taste. You might like the shape of teeth in one picture, the shade in another, and the overall smile width in a third. Explaining what you like and what you would avoid gives your dental team clear direction. Your dentist will then explain how these preferences can be adapted to your own face, bite, and oral health.
- Save photos of smiles that feel natural to you
- Bring older photos of your own smile, if available
- Note any features you dislike, such as very white or very square teeth
- Be open to professional advice about what will suit your face
Keeping Your After Results Looking Fresh
Your new dentures will look their best with good daily care. Brush them with a soft brush and non-abrasive cleanser, soak them overnight, and rinse after meals to reduce staining. Avoid regular toothpaste and very hot water, which can scratch or warp acrylic. Yearly checkups allow your dentist to polish the dentures, check the fit, and plan relines as your gums change, so your smile continues to look natural in every photo.
What Pictures Cannot Tell You
A photo captures a single moment. It cannot show how a denture feels during a long dinner, how it handles a conversation on a cold day, or how confident the wearer feels laughing with friends. It also cannot show the follow-up visits, small adjustments, and relines that helped create the final result. When you look at before and after pictures, remember that a great outcome is built over several appointments with good communication between patient and dentist. Asking about the whole journey, not just the final image, gives you a far more accurate picture of what to expect and helps you set realistic goals for your own smile.
Trusted Care at the Best Dental Clinic in Tillsonburg
Known for a 5.0 Google rating and 252+ patient reviews, Family Dentistry on Brock is a trusted choice for families across Tillsonburg. The clinic accepts new patients and CDCP (Canadian Dental Care Plan) patients and offers dental implants, clear aligners, restorative care, veneers, laser treatment, teeth whitening, dental emergency care, sedation dentistry, dental surgery, and orthodontics.
Ready to take the next step?
Contact the clinic at +1 519-900-5640 or info@familydentistryonbrock.com, or come in to 49 Brock St E, Tillsonburg, ON N4G 1Z7. Monday hours extend to 7:00 PM, and Saturdays are available by appointment.
Frequently Asked Questions
Are denture before and after photos edited?
Reputable clinics use consistent, unedited photos. Be cautious with images that show heavy filters or different lighting.
How soon after getting dentures are after photos taken?
Ideally after swelling settles and adjustments are made, often a few weeks after fitting.
Can I see before and after photos of implant dentures?
Yes, though the visual change may be similar to conventional dentures. Stability is the main difference.
Will my after result look like the photos I see?
Your result depends on your own anatomy and goals. A try-in shows what your denture will look like before it is finished.
Should I take my own before photos?
Yes. Photos of your current smile help track your progress and plan your new teeth.
Conclusion
Dentures before and after pictures can show impressive changes in smiles, facial support, and confidence. Honest photos use matching conditions and natural shades, and they reflect personalised results rather than a single template. A consultation and try-in are the best way to see what your own transformation could look like.